
This guide walks through defining a separate VLAN on a MikroTik router and connecting a KVM-based virtual machine to that VLAN.
MikroTik part
Start by creating a bridge. A bridge is the virtual switching fabric of the MikroTik router — it connects physical and virtual interfaces together:
flowchart LR
    eth1 --> bridge
    eth2 --> bridge
    wifi --> bridge
    other[other ports] --> bridge
The vlan-filtering setting must be enabled for the bridge to enforce its VLAN table. Create the bridge with vlan-filtering=no first, complete the VLAN configuration, and enable filtering at the end. This avoids locking yourself out while the bridge is only partially configured.
/interface bridge
add name=bridge100 vlan-filtering=no
Next, connect ether4 as a trunk port to that bridge. Replace ether4 with the MikroTik port that is physically connected to the hypervisor.
/interface bridge port
add bridge=bridge100 interface=ether4 frame-types=admit-only-vlan-tagged ingress-filtering=yes comment="KVM Trunk"
Use the actual MikroTik port connected to the hypervisor. The port, the bridge VLAN table entry, and the vlan100 interface must all use the same bridge. For example, if your hypervisor is connected to ether1 on an existing bridge named bridge, then the VLAN table entry must be on bridge, not on bridge100.
frame-types=admit-only-vlan-taggedis an important security feature that prevents accidental or malicious untagged traffic from bypassing your VLAN design. Use this on trunk ports.ingress-filtering=yesmeans the bridge checks whether incoming traffic is allowed on that port for the VLAN it belongs to. This prevents a port from accepting VLAN traffic that was not explicitly assigned to it in the bridge VLAN table.
Now add VLAN 100 to the bridge VLAN table. ether4 is listed as a tagged trunk port, and bridge100 is also listed as tagged because the bridge interface is the RouterOS CPU-facing port. Without bridge100 in this entry, the vlan100 interface created later would not receive VLAN 100 traffic.
/interface bridge vlan
add bridge=bridge100 vlan-ids=100 tagged=bridge100,ether4
After adding this entry, verify the configured tagged= value. It should include both the bridge interface and the trunk port:
/interface bridge vlan print detail where vlan-ids=100The important static configuration is:
tagged=bridge100,ether4RouterOS may also show current-tagged, but that is runtime state. It can be empty or incomplete when the physical port is disconnected, inactive, or not currently participating in the bridge. Use current-tagged as a live troubleshooting clue, not as the main check for whether the written configuration is correct.
The resulting topology is:
flowchart LR
    ether4["ether4<br/>tagged trunk<br/>VLAN 100 allowed"] --> bridge100["bridge100<br/>VLAN-aware switch fabric"]
    bridge100 --> cpu["bridge100 CPU port<br/>VLAN 100 tagged"]
Next, define a vlan100 interface on top of bridge100 and assign the router’s gateway address to it:
/interface vlan
add name=vlan100 interface=bridge100 vlan-id=100

/ip address
add address=10.0.100.1/24 interface=vlan100
After running those commands, VLAN 100 can reach the RouterOS IP stack through the bridge CPU port:
flowchart LR
    HV[KVM Host<br> vlan100 tagged packets] --> ether4
    ether4["ether4<br/>tagged trunk<br/>VLAN 100"] --> bridge100["bridge100<br/>VLAN-aware switch fabric"]
    bridge100 --> cpu["bridge100 CPU port<br/>tagged VLAN 100"]
    cpu --> vlan100["vlan100 virtual interface<br/>10.0.100.1/24"]
    vlan100 --> ipstack["RouterOS IP stack / firewall"]
Finally, enable bridge VLAN filtering:
/interface bridge
set bridge100 vlan-filtering=yes
Full MikroTik command list
/interface bridge
add name=bridge100 vlan-filtering=no

/interface bridge port
add bridge=bridge100 interface=ether4 frame-types=admit-only-vlan-tagged ingress-filtering=yes comment="KVM Trunk"

/interface bridge vlan
add bridge=bridge100 vlan-ids=100 tagged=bridge100,ether4

/interface vlan
add name=vlan100 interface=bridge100 vlan-id=100

/ip address
add address=10.0.100.1/24 interface=vlan100

/interface bridge
set bridge100 vlan-filtering=yes
Hypervisor part
On the hypervisor, the physical NIC connected to MikroTik ether4 receives tagged VLAN 100 frames. Because ether4 is configured as a trunk port, the host must create a VLAN interface first and then attach that VLAN interface to a Linux bridge.
In the examples below, replace eno1 with the name of the physical NIC connected to the MikroTik trunk port.
nmcli device statusThe target topology on the hypervisor looks like this:
flowchart LR
    mikrotik["MikroTik ether4<br/>tagged VLAN 100"] --> nic["eno1<br/>physical NIC"]
    nic --> vlan["eno1.100<br/>VLAN 100 interface"]
    vlan --> bridge["br100<br/>Linux bridge"]
    bridge --> vm["VM NIC<br/>untagged inside guest"]
Create a VLAN interface
Create a VLAN 100 interface on top of the physical NIC:
nmcli connection add type vlan con-name eno1.100 ifname eno1.100 dev eno1 id 100
nmcli connection modify eno1.100 ipv4.method disabled ipv6.method disabled
This creates eno1.100, which strips and adds the VLAN 100 tag on behalf of the VM bridge. The VM itself does not need to know about VLAN tags.
Create a bridge interface
Create a Linux bridge for the VM network:
nmcli connection add type bridge con-name br100 ifname br100 ipv4.method disabled ipv6.method disabled bridge.stp noThe bridge does not need an IP address. It is only a Layer 2 segment for VMs. The gateway for this network is the MikroTik vlan100 interface at 10.0.100.1/24.
Now attach the VLAN interface to the bridge:
nmcli connection modify eno1.100 master br100 slave-type bridgeBring both connections up:
nmcli connection up br100
nmcli connection up eno1.100
The data flow:
flowchart LR
    br100 --> vlan["eno1.100<br/>adds VLAN 100 tag"]
    vlan --> nic["eno1"]
    nic --> mikrotik["MikroTik ether4<br/>tagged trunk"]
    mikrotik --> gateway["vlan100 gateway<br/>10.0.100.1/24"]
Check the result:
nmcli connection show --active
bridge link
Attach a VM to the bridge
If you use virt-install, attach the VM NIC to br100:
virt-install \
--name example-vm \
--memory 2048 \
--vcpus 2 \
--disk size=20 \
--network bridge=br100,model=virtio \
--location /var/lib/libvirt/boot/ubuntu-24.04.4-live-server-amd64.iso,kernel=casper/vmlinuz,initrd=casper/initrd \
--extra-args "console=ttyS0,115200n8 serial ---" \
--graphics none \
--console pty,target_type=serial \
--boot uefi \
--noautoconsole
At this point, traffic flow should look like this:
flowchart LR
    vm["VM<br/>untagged Ethernet"] --> br100
    br100 --> vlan["eno1.100<br/>adds VLAN 100 tag"]
    vlan --> nic["eno1"]
    nic --> mikrotik["MikroTik ether4<br/>tagged trunk"]
    mikrotik --> gateway["vlan100 gateway<br/>10.0.100.1/24"]
Connect to the virtual machine:
virsh console example-vmFor an existing VM, you can attach a new interface with virsh:
virsh attach-interface \
--domain example-vm \
--type bridge \
--source br100 \
--model virtio \
--config \
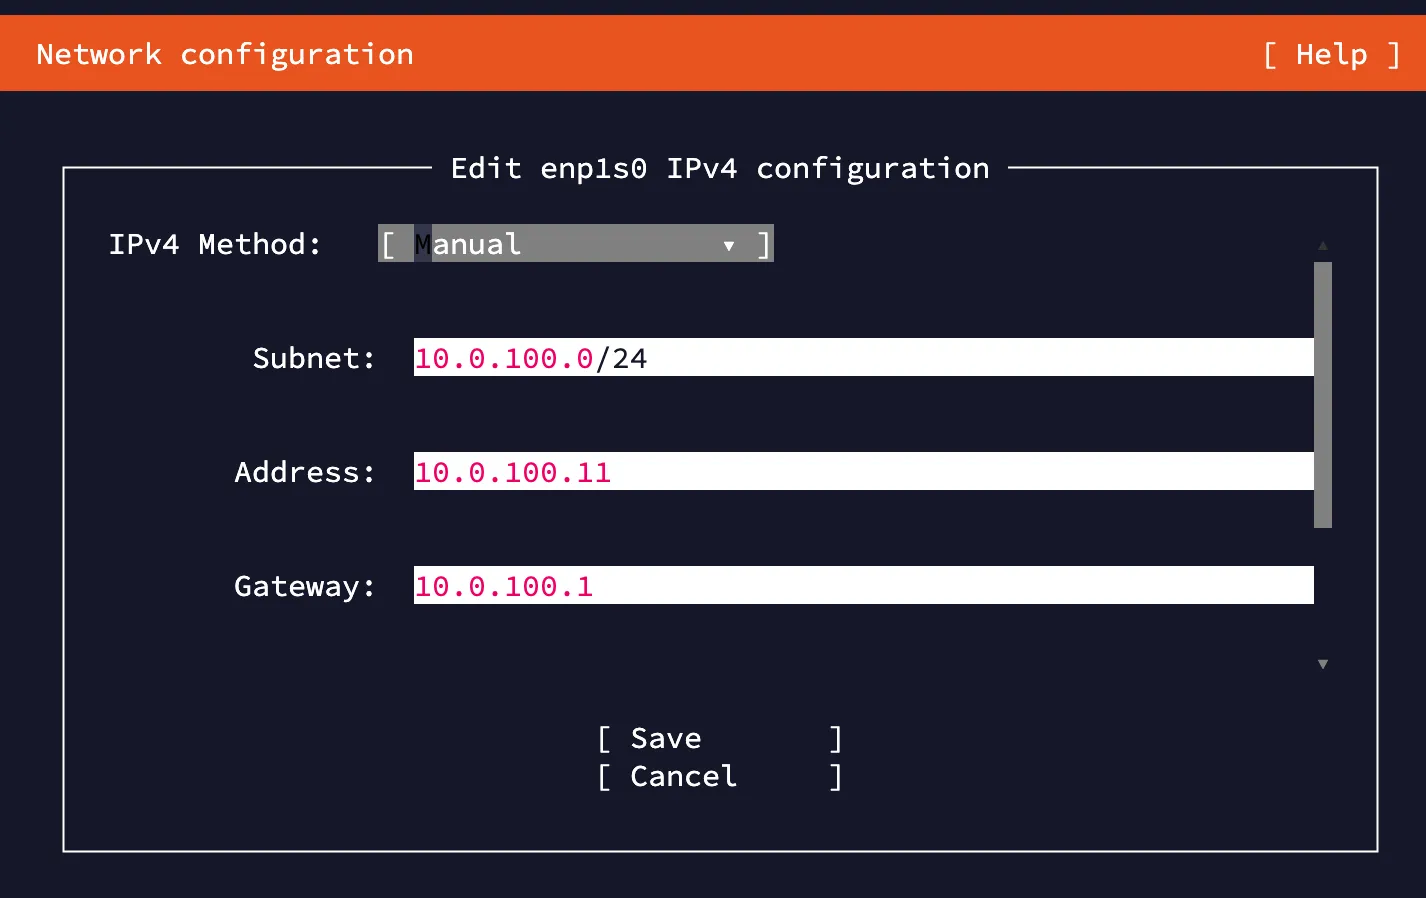
--liveInside the VM, configure an address in 10.0.100.0/24 and use 10.0.100.1 as the default gateway. If you want the VM to receive an address automatically, you also need to configure DHCP for VLAN 100 on the MikroTik.
At this point, the virtual machine should be able to ping 1.1.1.1. Set up a DNS resolver to complete the configuration.
Clean up the test VM only if you no longer need it. These commands stop the VM, undefine it, and remove its storage:
virsh destroy example-vm 2>/dev/null
virsh undefine example-vm --nvram --remove-all-storage --managed-save --snapshots-metadata